Curing Urushi: the bare-bones concepts
(read this once, then the Q&A will make sense)
Urushi (urushi [漆]) doesn’t “dry” like paint by evaporation. It hardens by a chemical reaction: enzyme-driven oxidation/polymerization (laccase [ラッカーゼ] is a key enzyme in natural urushi). That reaction is picky. Give it the right environment and it behaves like a disciplined craft material. Starve it (too dry, too cold, too little oxygen) and it becomes a petty demon.
The four curing controls
(in real life, these explain 90% of problems)
- Humidity (RH) Urushi needs moisture in the air to cure reliably. Too low RH = stalled or extremely slow cure. Too high + temperature swings = condensation risk and surface problems.
- Temperature (°C) Warmer speeds the reaction, cooler slows it. Too warm can “snap-set” the surface, trap brush marks, worsen color clarity, and create gradients (hard on top, soft below).
- Oxygen (air exchange) Urushi curing is oxidation-involved. Airtight curing boxes can be a mistake if they don’t exchange air. Also: oxygen can be reduced in some rooms if you run oxygen-consuming heaters and seal everything up.
- Film thickness / load (how much you applied) Urushi is happiest in thin, controlled coats. Thick coats can skin over first, then stay soft underneath because oxygen/moisture access becomes limiting.
“Set” vs “Full cure”
(this prevents dumb mistakes)
- Set = the surface no longer feels wet/tacky and can be handled carefully. Most coats set overnight under good conditions.
- Full cure = the film is mechanically stable enough to sand/polish without gumming and won’t “wake up tacky” later. Depending on the urushi, thickness, and conditions, expect days to a couple of weeks before a layer is truly sanding-ready. Full mechanical hardening continues well beyond that — urushi keeps gaining hardness over weeks to months.
Many failures happen when people treat “set” as “done.”
Measuring your conditions
You cannot control what you don’t measure. Place a hygrometer and thermometer inside your furo/muro, not outside it. Cheap hygrometers (under ~$20) are often ±10% off — usable as a rough guide but not trustworthy for tight ranges. A decent digital hygrometer/thermometer combo with ±5% RH accuracy is enough for most urushi work. If you’re chasing narrow windows (e.g., mild-humidity curing for color preservation), consider calibrating your hygrometer or investing in a better unit.
What is “muro” vs “furo”?
- Muro (muro [室]) — literally “room” or “chamber.” Emphasizes the concept of a controlled curing space. Can be a full room, a built-in cabinet, or a chamber of any size.
- Furo (furo [風呂]) — literally “bath.” Usually refers to a box-type curing enclosure, especially a humid curing box (e.g., shimeshiburo [湿し風呂]).
- “Buro” — not a separate technical term. It is simply a phonetic rendering of furo, where the “f” softens in compound words (e.g., “shime-buro”), but remains “furo” when used alone. It does not indicate a different structure or method.
In practice, muro emphasizes the concept of a curing chamber, while furo often suggests a smaller, box-style enclosure. Both refer to controlled environments for curing urushi.
Shime-buro vs Kara-buro
 (the difference you actually care about)
- Humid curing: shime-buro / shime-muro (shimeshiburo [湿し風呂], shime-muro [湿室]) Used for fresh coats that must cure reasonably fast. Typical working range: ~70–80% RH, ~20–25 °C.
- Mild curing: Humidity range of ~60–70% RH, ~22–28 °C for light colours, emphasis on transparency, preserving colour in fuki-urushi.
- Drier holding/stabilizing: kara-buro / kara-muro (karaburo [乾風呂], kara-muro [乾室]) Used after a film is safely set, or for steps where you don’t want “wet time” extended. Typical working range in many workshops: ~50–60% RH, ≥20 °C.
Highest (practical) laccase activity is in ~80–85% RH, ~23–25 °C.
Baseline target you can memorize
For most coating steps:
| Furo type | shime-buro (shimeshiburo [湿し風呂]) |
| RH | ~70–85% |
| Temp | ~20–25 °C |
| Time | aim for a controlled set in ~6–12 hours (adjust per urushi, thickness, pigment, season) |
Quick diagnosis rule
(brutally practical)
If urushi isn’t curing: check RH → temperature → oxygen → urushi condition → film thickness.
In that order. Always.
Mini glossary
(only what you need for curing)
- Urushi (urushi [漆]) — natural lacquer from lacquer tree sap.
- Raw urushi (ki-urushi [生漆]) — minimally processed; more sensitive to storage and separation.
- Transparent/refined urushi (suki-urushi [透き漆]) — refined/filtered; often used for clear coats.
- Black urushi (kuro-urushi [黒漆]) — blackened lacquer (methods vary).
- Colored urushi (iro-urushi [色漆]) — urushi with pigments.
- Wiping urushi (fuki-urushi [拭き漆]) — apply, then wipe back; used to seal/finish wood while showing grain.
- Curing chamber/room (muro [室]) — curing cabinet/space.
- Curing “bath” box (furo [風呂]) — often a smaller curing box/cabinet.
- Humid curing (shimeshiburo [湿し風呂] / shime-muro [湿室]) — higher humidity curing.
- Drier holding (karaburo [乾風呂] / kara-muro [乾室]) — lower humidity holding/conditioning.
- Stirring / re-homogenizing (kakuhan [攪拌]) — mixing to fix separation and restore consistency.
- Relative humidity (RH) — % moisture in air relative to saturation at that temperature.
Q&A: Curing Problems (乾き・硬化)
CP-1 — It won’t cure at all
Q: My urushi doesn’t cure. Why?
A: The usual culprits are boring and predictable:
- RH too low → reaction stalls.
- Temperature too low → reaction crawls.
- Oxygen too low (airtight box or oxygen-starved room).
- Urushi degraded/spoiled (especially raw urushi, ki-urushi [生漆]).
- Separation → parts of the mix behave differently unless re-homogenized (kakuhan [攪拌]).
Fix (do this in order):
- Move the piece into shime-buro (shimeshiburo [湿し風呂]) with stable conditions.
- Ensure air exchange — the furo should not be completely airtight. A lid that sits loosely, small gaps, or briefly opening the box once or twice a day is usually enough. If you drilled ventilation holes, keep them small and few (a couple of ~5 mm holes is plenty for a box-sized furo).
- Stir the urushi thoroughly before re-testing.
- If still dead: test a fresh dab on glass/plastic as a control; suspect the urushi batch if the control also fails.
Targets: Furo: shime-buro (shimeshiburo [湿し風呂]) · RH 75–85% · 20–25 °C · 12–24 h test hold
CP-2 — My raw urushi cures slower and slower over time
Q: Why does ki-urushi (ki-urushi [生漆]) gradually cure more slowly?
A: Raw urushi is biologically and chemically “alive.” Enzyme activity and emulsion stability can degrade with heat, time, microbial spoilage, and phase separation. As that happens, curing slows.
Fix:
- Store cool and stable (many workshops refrigerate raw urushi).
- Warm back to working temperature before use.
- Stir well (kakuhan [攪拌]) to reverse separation.
Targets: Storage: cool/dark (often refrigerated for ki-urushi) · Before use: return to ~20 °C · Mix thoroughly
CP-3 — Colored urushi looks dull or turns too dark
Q: My iro-urushi (iro-urushi [色漆]) looks muddy/dull. What do I change?
A: Two levers:
- Pigment load vs binder (urushi): more pigment = stronger color but worse flow and potentially weaker film; more binder (urushi) = better film but weaker color.
- Cure speed: curing too fast worsens leveling and color clarity.
Fix:
- Tune the muro so the coat sets in ~10–12 hours or longer for lighter/cooler colours, not “instantly.”
- Keep coats thin and even; thick coats punish color.
Targets: Furo: shime-buro – lower range or mild · RH 65–75% · 20–25 °C · aim set ~10–12 h – up to 72 h (strongly colour dependent)
CP-4 — It cures on top but stays soft underneath
Q: The surface skins over, but underneath stays soft. Why?
A: Usually too thick a film or too warm/fast conditions causing the surface to advance faster than the bulk can cure. The hardened skin then blocks oxygen and moisture from reaching the layers below, making the problem self-reinforcing.
Fix:
- Apply thinner coats — this is the most reliable fix.
- Avoid pushing temperature high to “force cure.”
- Extend cure time under stable, moderate conditions.
- If it has already happened: you may need to remove the coat and start over. A skinned-over surface with soft material underneath rarely recovers well.
Targets: Furo: shime-buro · RH 70–80% · 20–23 °C (keep temperature moderate, not hot) · Allow 12–24 h before judging
CP-5 — It cures fine in summer but not in winter
Q: Seasonal curing swings are killing me. What should I adjust first?
A: Winter drops temperature and often effective humidity. That slows curing dramatically — sometimes to the point where it stalls completely.
Fix order:
- Stabilize temperature into the workable band (≥20 °C). Even a small thermostat-controlled heater, a reptile heating mat, or a low-wattage incandescent bulb inside or near the furo can make the difference. The goal isn’t high heat — just consistent warmth.
- Stabilize RH (don’t let it drift). Heated air without added moisture drops in relative humidity. Add a water tray, damp cloth, or humidifier to compensate.
- Confirm oxygen exchange — still applies in winter.
Tip: If you work through cold seasons regularly, some form of climate control in your workspace is worth the investment. It doesn’t need to be elaborate — a small space heater with a thermostat and a basic humidifier can transform winter results.
CP-6 — It felt cured, but later it’s tacky or shows fingerprints
Q: Why does a “cured” surface become tacky later, or why do fingerprints appear even when it seemed dry?
A (Workshop practice): Both problems usually have the same root cause: the surface was set but not fully cured. The film is still elastic underneath, and further handling — especially with bare skin — reveals the softness. Oils and moisture from skin make it worse: fingerprints press into the still-pliable surface, and skin oils can change the surface feel and confuse your diagnosis.
Fix:
- Put it back in controlled curing conditions and extend time.
- Handle with nitrile gloves during all cure cycles — no bare-hand contact.
- Don’t start sanding/polishing until it passes the test-sand behavior described in CP-9.
- Be patient: what feels “done” to a light touch may still need another day or two.
CP-7 — Can I “overcure” in the muro?
Q: If I leave it in too long, can I damage it?
A: “Too long” is rarely the real problem. Bad conditions are the problem:
- Too hot/fast → frozen brush marks, worse color, surface gradients.
- Too wet with condensation risk → surface issues.
Fix:
- Keep conditions stable and moderate. Longer is fine if conditions are sane.
Tip: In some cases fully cured but not yet super hard urushi is easier to work with (sand).
CP-8 — Shime-buro vs kara-buro: which should I use?
Q: When do I use humid curing vs a drier cabinet?
A:
- Use shime-buro for fresh coats that must cure reliably.
- Use mild humidity furo for transparency, colour preservation, initial stage of curing, extending leveling time.
- Use kara-buro after the film is safely set, or when you want to reduce “wet time” between steps.
Tip: You can use different cabinets for different stages of curing of the same layer.
Targets:
| Furo type | RH | Temperature |
|---|---|---|
| Shime-buro | 70–85% | 20–25 °C |
| Mild humidity furo | 60–70% | 20–25 °C |
| Kara-buro | ~50–60% | ≥20 °C |
CP-9 — How do I know it’s cured enough to sand?
Q: When is a layer ready for sanding without gumming?
A (Workshop practice): Use behavior tests, progressing from least contact to most:
- Breath test (shiroiki [白息] / aoiki [青息]): Breathe on the surface and watch the fog. White, uniform fog that clears quickly indicates the surface is set. Blue or iridescent fog — or no fog at all — means it’s still too wet. This is an early-stage check only; do not treat a passing breath test as sanding-ready.
- Light glove touch: no tack.
- Gentle thumbnail in a hidden spot: no permanent dent.
- Test-sand a small area: if it powders cleanly, it’s ready. If it balls up or gums, it’s not.
Tip: If in doubt — give it more time.
CP-10 — How do I slow curing safely for better leveling?
Q: I want more open time and leveling. How do I slow cure without weakening adhesion?
A: Slow cure by environment control, not random additives.
- Slightly lower temperature (but keep it in a curing-friendly band).
- Keep RH stable (don’t dry it out).
- Aim for a ~10–12 hour set window for many coating steps.
For some cases, using a “slowing urushi” additive is a better option — this is covered separately.
CP-11 — Temperature swings (day/night) mess up my results
Q: How do daily swings affect curing?
A: Swings cause:
- Changing reaction speed.
- Condensation risk.
- Inconsistent “surface vs bulk” progression.
Fix: Make the curing environment boring and stable. Stability beats “perfect but fluctuating.” Consider climate control in your space/studio if possible.
CP-12 — Does substrate affect curing speed?
Q: Does urushi cure differently on wood vs other materials?
A: The chemistry still wants humidity and oxygen, but the substrate changes the micro-environment:
- Wood can buffer moisture and absorb components into pores.
- Non-porous surfaces make thickness and defects more obvious.
Fix: Keep coats thinner and conditions more stable when moving from wood to less porous substrates.
CP-13 — Brush marks remain (and curing is part of the reason)
Q: Brush marks stay after curing. Is that a curing issue?
A (Workshop practice): Often yes: the coat sets too fast and freezes the marks before leveling.
Fix:
- Tune the muro so the coat sets in ~6–12 hours, not ultra-fast.
- Keep temperature moderate; keep RH stable; use thinner coats.
CP-14 — Fuki-urushi darkens/blackens more than expected (curing speed is one factor)
Q: My fuki-urushi (fuki-urushi [拭き漆]) turns too dark. Is curing speed involved?
A (Workshop practice): Faster curing can push the result darker, and so can rougher wood surface and higher wood moisture.
Fix (curing lever):
- Don’t force fast cures; aim for controlled overnight curing.
- Keep the process consistent so you can compare results.
Other factors influencing darkening will be discussed in relevant chapters (Fuki-urushi).
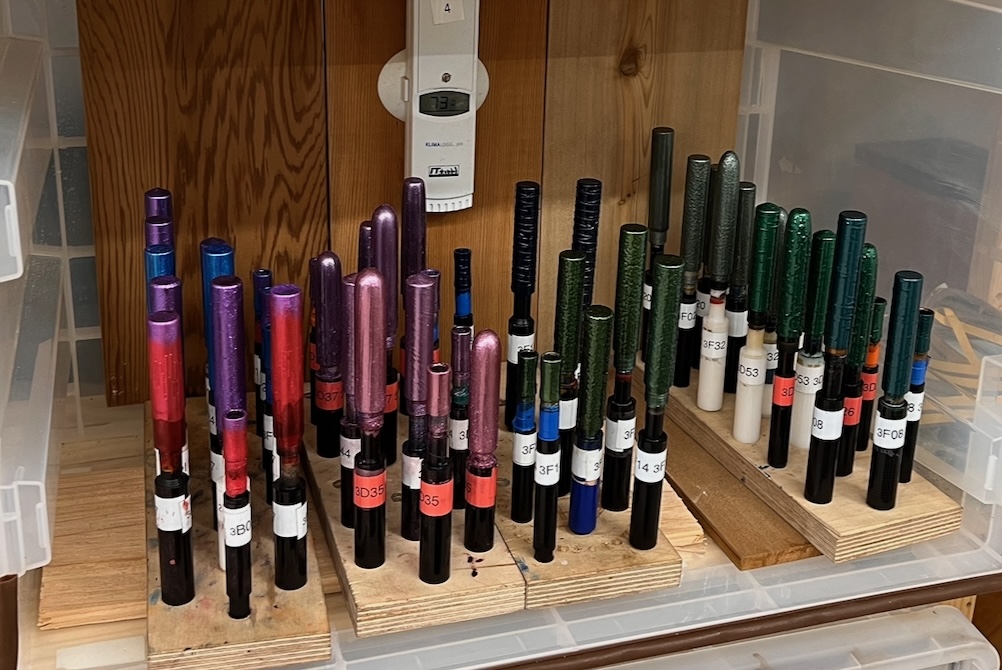
CP-15 — Do I REALY need an expensive calibrated professional hygrometer?
Q: Not necessarily. It’s always good to have reliable readings, but it is even more important to know your tools. If you have a basic hygrometer, but you build your reference humidity levels and do all the tests and curing with same one – you can build your own scale of humidity which works for you. Typical consumer grade hygrometers have +/5-8% accuracy – this means that if someone recommends you 70% humidity based on their readings – your readings might be off even by 15%. Know your tools, your space and your process – use all above recommendations as general guidelines only. Below you can see my first furo and my first €5 hygrometer.


