updated in February 2026
DISCLAIMER
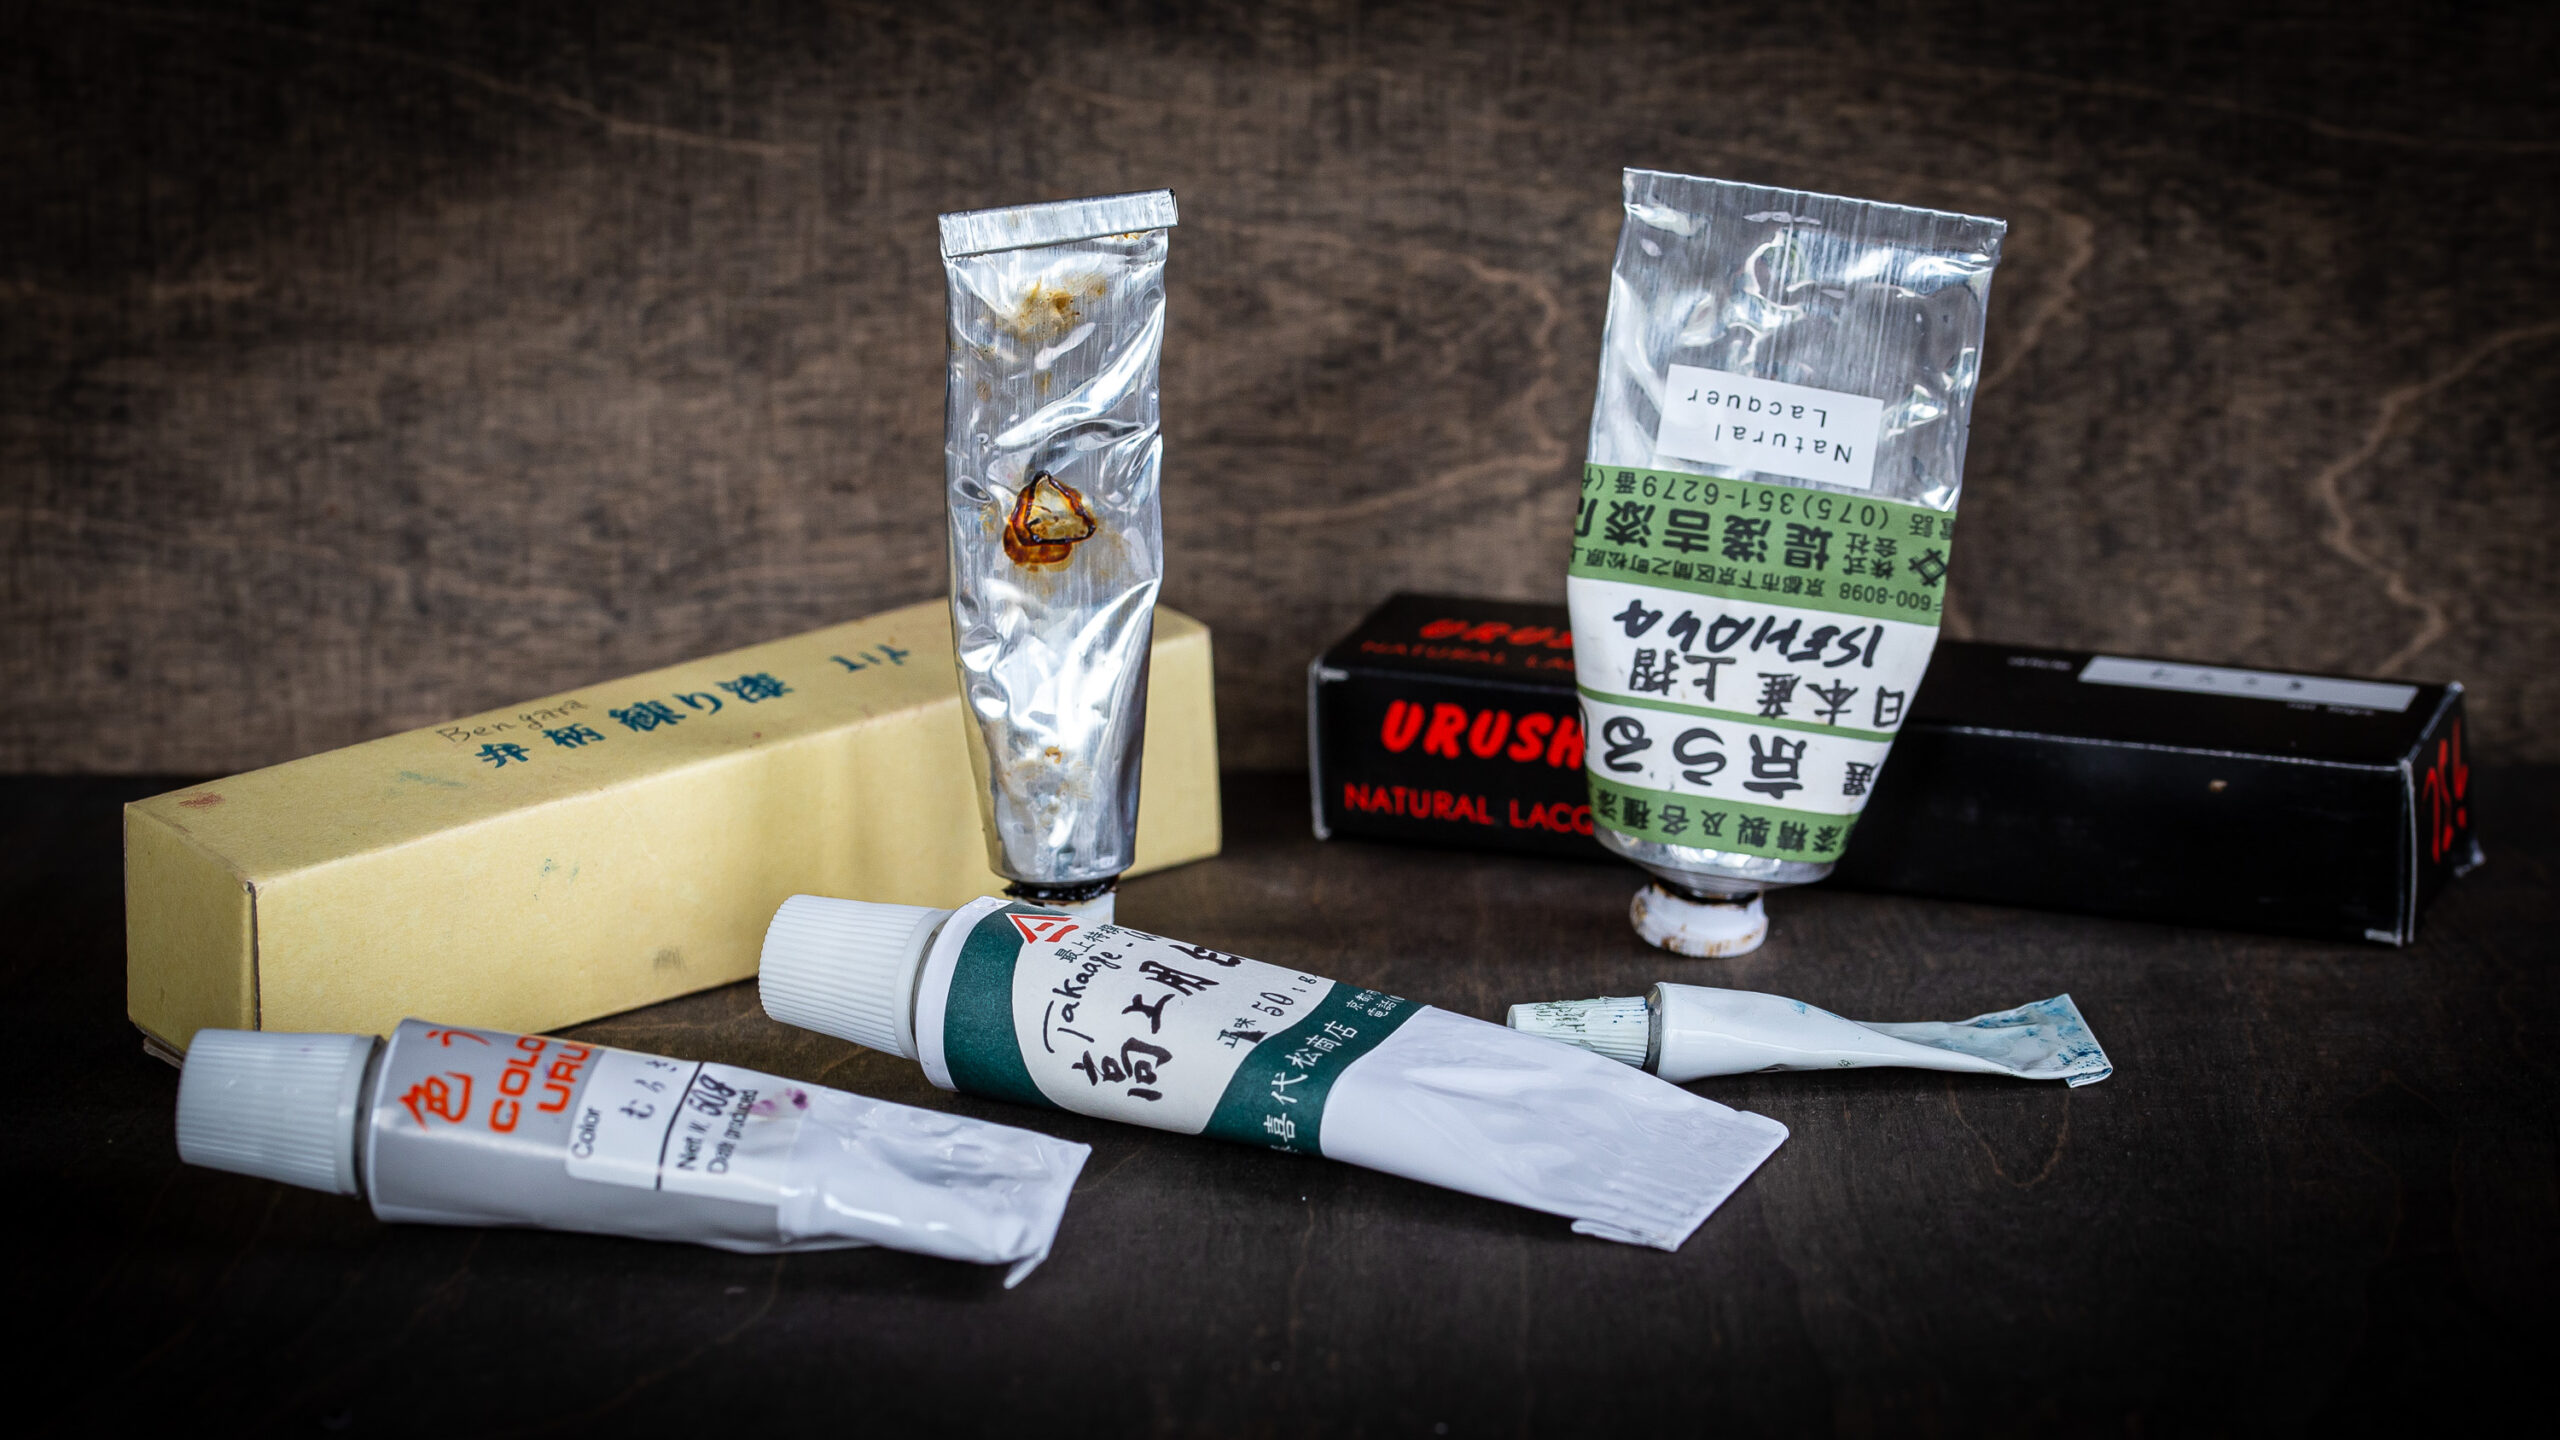
“Types of urushi” can mean two different things: (1) how the lacquer itself is processed (filtered vs refined, oil/no-oil, blackened, etc.), and (2) what you make from urushi in the workshop (sabi-urushi [錆漆], nori-urushi [糊漆], kokusō [刻苧], etc.). This article is about (1).
Also: names are messy. Many labels you see in shops are trade names or regional habits, and the same word can mean different products depending on the supplier. The most useful “anchor” is the Japanese industry-style classification (used by lacquer refiners’ organizations) which separates refined lacquer by clear/black and oil/no-oil (and treats nashiji lacquer as a special tinted clear lacquer). Even then—vendors still vary. Use names as hints, not as laws of physics.
Types of urushi (by processing)
Most shops simplify the world into raw, transparent/clear, and black. That’s not wrong as a first mental model, but the important detail is processing:
- Crude sap (arami-urushi [荒味漆]) → filtered to become raw lacquer (ki-urushi [生漆]).
- Refined clear lacquer (suki-seisei-urushi [透精製漆] / suki-urushi [透漆]) is made from raw lacquer by refining steps such as nayashi (撓し / nayashi) and kurome (黒目 / kurome): mixing/homogenizing + controlled dehydration + filtration.
- Refined black lacquer (kuro-seisei-urushi [黒精製漆] / kuro-urushi [黒漆]) is the same idea, but blackened during refining using iron compounds (often iron hydroxide, suianka tetsu [水酸化鉄]). This is not “black pigment floating in lacquer” — the chemistry of the lacquer changes during refining.
A second axis that matters just as much is oil vs no-oil. Some refined lacquers have drying oils added (typically perilla oil, egoma-abura [荏油]; sometimes linseed oil, aman’yu [亜麻仁油]; tung oil, tōyu [桐油]). Oil affects leveling, gloss in nuri-tate (塗り立て / nuri-tate) application, and curing behavior. If you’re confused by “why did this coat turn cloudy / why is it still tacky / why did it wrinkle,” read this first: https://tamenuri.com/curing-urushi-concept-tips-qa/
A practical “semi-standard” classification (Japan)
If you want a clean backbone that maps fairly well to what many suppliers sell, think in these buckets (terms vary, but the logic is stable):
- Clear, refined, no-oil: “clear sugurome” (suki-sugurome [透素黒目漆]) / “clear roiro lacquer” (aka-roiro-urushi [赤呂色漆]) in some naming systems.
- Black, refined, no-oil: “black sugurome” (kuro-sugurome [黒素黒目漆]) / “black roiro lacquer” (kuro-roiro-urushi [黒呂色漆]).
- Clear, refined, oil-added: commonly sold as shūai lacquer (shuai-urushi [朱合漆]) or as “nuri-tate / hana-nuri lacquer” (nuri-tate-urushi [塗り立て漆], hana-nuri-urushi [花塗漆]).
- Black, refined, oil-added: black nuri-tate style lacquers (names vary by vendor).
- Nashiji lacquer (nashiji-urushi [梨子地漆]): clear refined lacquer tinted with gamboge (tōō [藤黄]) for a warm yellow tone and high clarity, used especially in maki-e (蒔絵 / maki-e) workflows.
This still won’t stop vendors from using poetic names, but it will help you “decode” what you’re buying.
Origin matters (but not the way beginners think)
Yes, “Japanese urushi” (wa-urushi [和漆] / kokusan-urushi [国産漆]) is typically more expensive, and yes, a lot of lacquer used in Japan is imported. The important correction: don’t throw around a single magic percentage. It changes by year and by how it’s counted. The safest, factual way to say it is:
- Japan’s domestic self-sufficiency for lacquer is single-digit percent in many recent statistics (government data exists), so most lacquer is imported.
- Price differences are driven by supply, certification/traceability, and policy: for example, cultural heritage conservation in Japan has strong pressure toward using domestic lacquer.
- “Chinese = bad, Japanese = perfect” is an oversimplification. Quality depends on grade and on the refining/processing and QC done by the supplier. There is excellent imported arami-urushi, and there is mediocre domestic lacquer. Buy from reputable processors.
Raw urushi (filtered lacquer)
The starting point is crude sap (arami-urushi [荒味漆]) from the lacquer tree. Once filtered to remove bark, dust, and other solids, it becomes raw lacquer (ki-urushi [生漆]). Traditional filtering uses cotton/cloth and repeated filtration; modern shops may use controlled filtration methods, but the goal is the same: remove solids without “killing” the lacquer.
Raw lacquer is sold in many grades and intended uses. Some terms you will see are grade names, not universal chemical categories—for example:
- Seshime lacquer (seshime-urushi [瀬締め漆] / seshime): often used as a workhorse for ground/base mixes, putties, and intermediate layers (nakanuri [中塗り]).
- Kijōmi lacquer (kijōmi-urushi [木地呂味漆] / kijomi) and other “high clarity / high performance” grades are often marketed for wiping coats (fuki-urushi [拭き漆]) and for higher-end topwork. Names vary by supplier.
Aging/maturing (jukusei [熟成]) exists in the lacquer world, but as a beginner you should treat it as a supplier-level or specialist topic. The practical takeaway: don’t assume “older = better”; focus on buying stable, fresh lacquer from a reputable source and curing it correctly.
NOTE FOR BEGINNERS
Start with two raw lacquers at most: (1) an affordable “workhorse” raw lacquer for base work and mixes (often sold as ki-urushi [生漆] or seshime), and (2) one higher-grade raw lacquer suited to wiping coats (fuki-urushi [拭き漆]) or cleaner layers. Learn application + curing first; “15 grades of raw lacquer” is a distraction at the beginning.
Transparent / clear refined urushi
“Transparent urushi” is usually translucent rather than truly transparent. It always has some color (grey-brown → honey → reddish), and it becomes “more transparent” mostly in thin coats and on appropriate underlayers. Clarity is influenced by:
- Refining quality (nayashi [撓し], kurome [黒目], filtration), and the grade of the starting lacquer.
- Thickness (thicker = darker/less clear, higher defect risk).
- Curing conditions (humidity/temperature/time). Too dry can stall curing; too wet can push haze/clouding depending on formula. This is exactly why your curing setup matters: curing article here.
Common names you will see (again: some are trade names):
- Sugurome / roiro clear (no-oil): suki-sugurome (透素黒目漆) and related “roiro” labels (呂色 / roiro, 蝋色 / rōiro). These are the clean backbone lacquers used for many refined workflows.
- Kijiro lacquer (kijiro-urushi [木地呂漆]): typically a clear refined lacquer tuned for showing wood grain (kijiro [木地呂])—often in the sugurome family, but sold under its own label.
- Shuai lacquer (shuai-urushi [朱合漆]): usually oil-added refined lacquer used for nuri-tate / hana-nuri style finishing (塗り立て / 花塗り). This is how you get “brush-finish gloss” without full roiro polishing.
- Nashiji lacquer (nashiji-urushi [梨子地漆]): clear refined lacquer tinted with gamboge (藤黄) and used especially in maki-e / nashiji workflows.
- Hakushita lacquer (hakushita-urushi [箔下漆]): formulated for foil/leaf adhesion (gold, silver, tin). Often sold in clear/red variants depending on the effect and substrate.
NOTE FOR BEGINNERS
Keep it simple: buy one clear refined lacquer (a suki-sugurome / kijiro type) and learn how it behaves in your curing conditions. Add shuai (朱合漆) only if you specifically want nuri-tate / hana-nuri style finishing. Everything else can wait.
Black urushi
Modern “black urushi” in Japan is commonly made during refining by adding iron compounds (often iron hydroxide, 水酸化鉄) so the lacquer itself becomes black. Historically, black was also made by mixing soot-type pigments (lampblack, yūen [油煙]; haizumi [掃墨]) into lacquer, but that is a different mechanism and behaves more like a color lacquer.
Just like clear lacquer, black lacquer comes in:
- Middle-layer grades (nakanuri [中塗り]) vs top-layer grades (uwanuri / uwazuri [上塗り]).
- No-oil vs oil-added versions (the latter often sold for nuri-tate style finishing).
- Roiro finishing (roiro-shiage [呂色仕上げ / 蝋色仕上げ]) typically uses no-oil refined black lacquer and then polishing steps (dozuri [胴摺り] etc.).
A separate (less common as a ready-made product) category is “black color urushi” made by adding carbon black pigment. Many craftspeople mix this themselves when they want a specific black tone or behavior. If you do this, use urushi-compatible, clean pigments intended for lacquer—not random art-store powders.
Colour urushi (pigmented & dyed)
Color urushi (iro-urushi [色漆]) is made by mixing urushi-compatible pigments into lacquer. The lacquer cures by oxidative polymerization driven by enzymes (laccase, rakkāze [ラッカーゼ]) under humidity—so pigments and additives must not interfere with that process.
Key practical points:
- Not all pigments are compatible. Use pigments sold for urushi / lacquer work, or buy premixed color urushi from reputable vendors.
- Mixing is not just stirring. Proper color urushi needs thorough dispersion (often mortar + careful grinding, sometimes roll mills in professional settings).
- Color shifts are real. The base lacquer tone + layer thickness + curing conditions can push colors warmer/darker. If your “bright red” turns brownish, it’s often curing + thickness, not “bad pigment.” Again: curing fundamentals.
NOTE FOR BEGINNERS
Don’t start by mixing your own color urushi. Buy a few premixed colors (white, a red or two, blue, green, yellow) and learn how they cure and how thick you can apply them. Once you can reliably apply and cure clean layers, then mixing becomes fun instead of expensive suffering.
RED URUSHI SIDENOTE:
“Red” is not one thing. There are many reds (different pigments, different particle sizes, different undertones), and the lacquer base shifts the result. Traditional bright vermilion work relates to pigments such as cinnabar / mercuric sulfide (shuseki / shinsha [辰砂], ryūka suigin [硫化水銀])—but modern suppliers often use safer industrial pigments and pre-mixes. If you want a specific “Namiki-style” red, you need to control three things: (1) the exact pigment/system, (2) the lacquer base used to carry it, and (3) curing + thickness. Always test new colors on a small board under your actual furo (urushi-buro [漆風呂]) conditions.
Coming next
Part 2 will cover workshop compounds made from urushi: sabi-urushi (錆漆), nori-urushi (糊漆), kokusō (刻苧), jinoko mixes (地の粉), tonoko mixes (砥の粉), and how to choose them by purpose.
Sources & further reading (Japanese)
- Refining steps (nayashi/kurome), roiro/shuai/hakushita overview (Kyoto conservators): Wakabayashi Kogeisha
- Black made with iron hydroxide; color overview (Wajima): Wajima-nuri (漆の色について)
- Industry-style classification (clear/black, oil/no-oil, nashiji with gamboge): DIYうるし部(漆の種類)
- Kurome as dehydration + why temperature matters (workshop explanation): Urushi Art Hariya
- Domestic production / self-sufficiency data (Forestry Agency CSV): 林野庁データ(国産漆の生産量と自給率)
- Cultural heritage context / domestic lacquer policy (Agency for Cultural Affairs PDF): 文化庁資料(漆の生産状況など)

