Urushi was initially used to glue things together. Stone and metal points to wooden shafts, feathers as fletching – to make arrows. Wooden and stone parts to make plow. Fixing broken household items. From that whole range of other uses was developed. One of earlies was probably Fuki-urushi – impregnating wood surface with urushi. Also called suri-urushi.
YT Video on fuki urushi – first part
For Fuki-urushi usually raw urushi, thin with low viscosity I used, but other kinds are used too. Technique is easy to learn, but still difficult to master. There is no one, sacred method, a lot of variations are possible, but they all have a lot in common. Rubbing urushi into wood surface, curing, sanding, and rubbing again.
Fuki-urushi can be utilitarian, simple process just to protect wood surface. Or it can be elaborate procedure aimed at visual effect. Or anything in between.
Tools and materials
List of tools and materials for fuki-urushi can be quite simple. I will start with the basic one and then add more options.
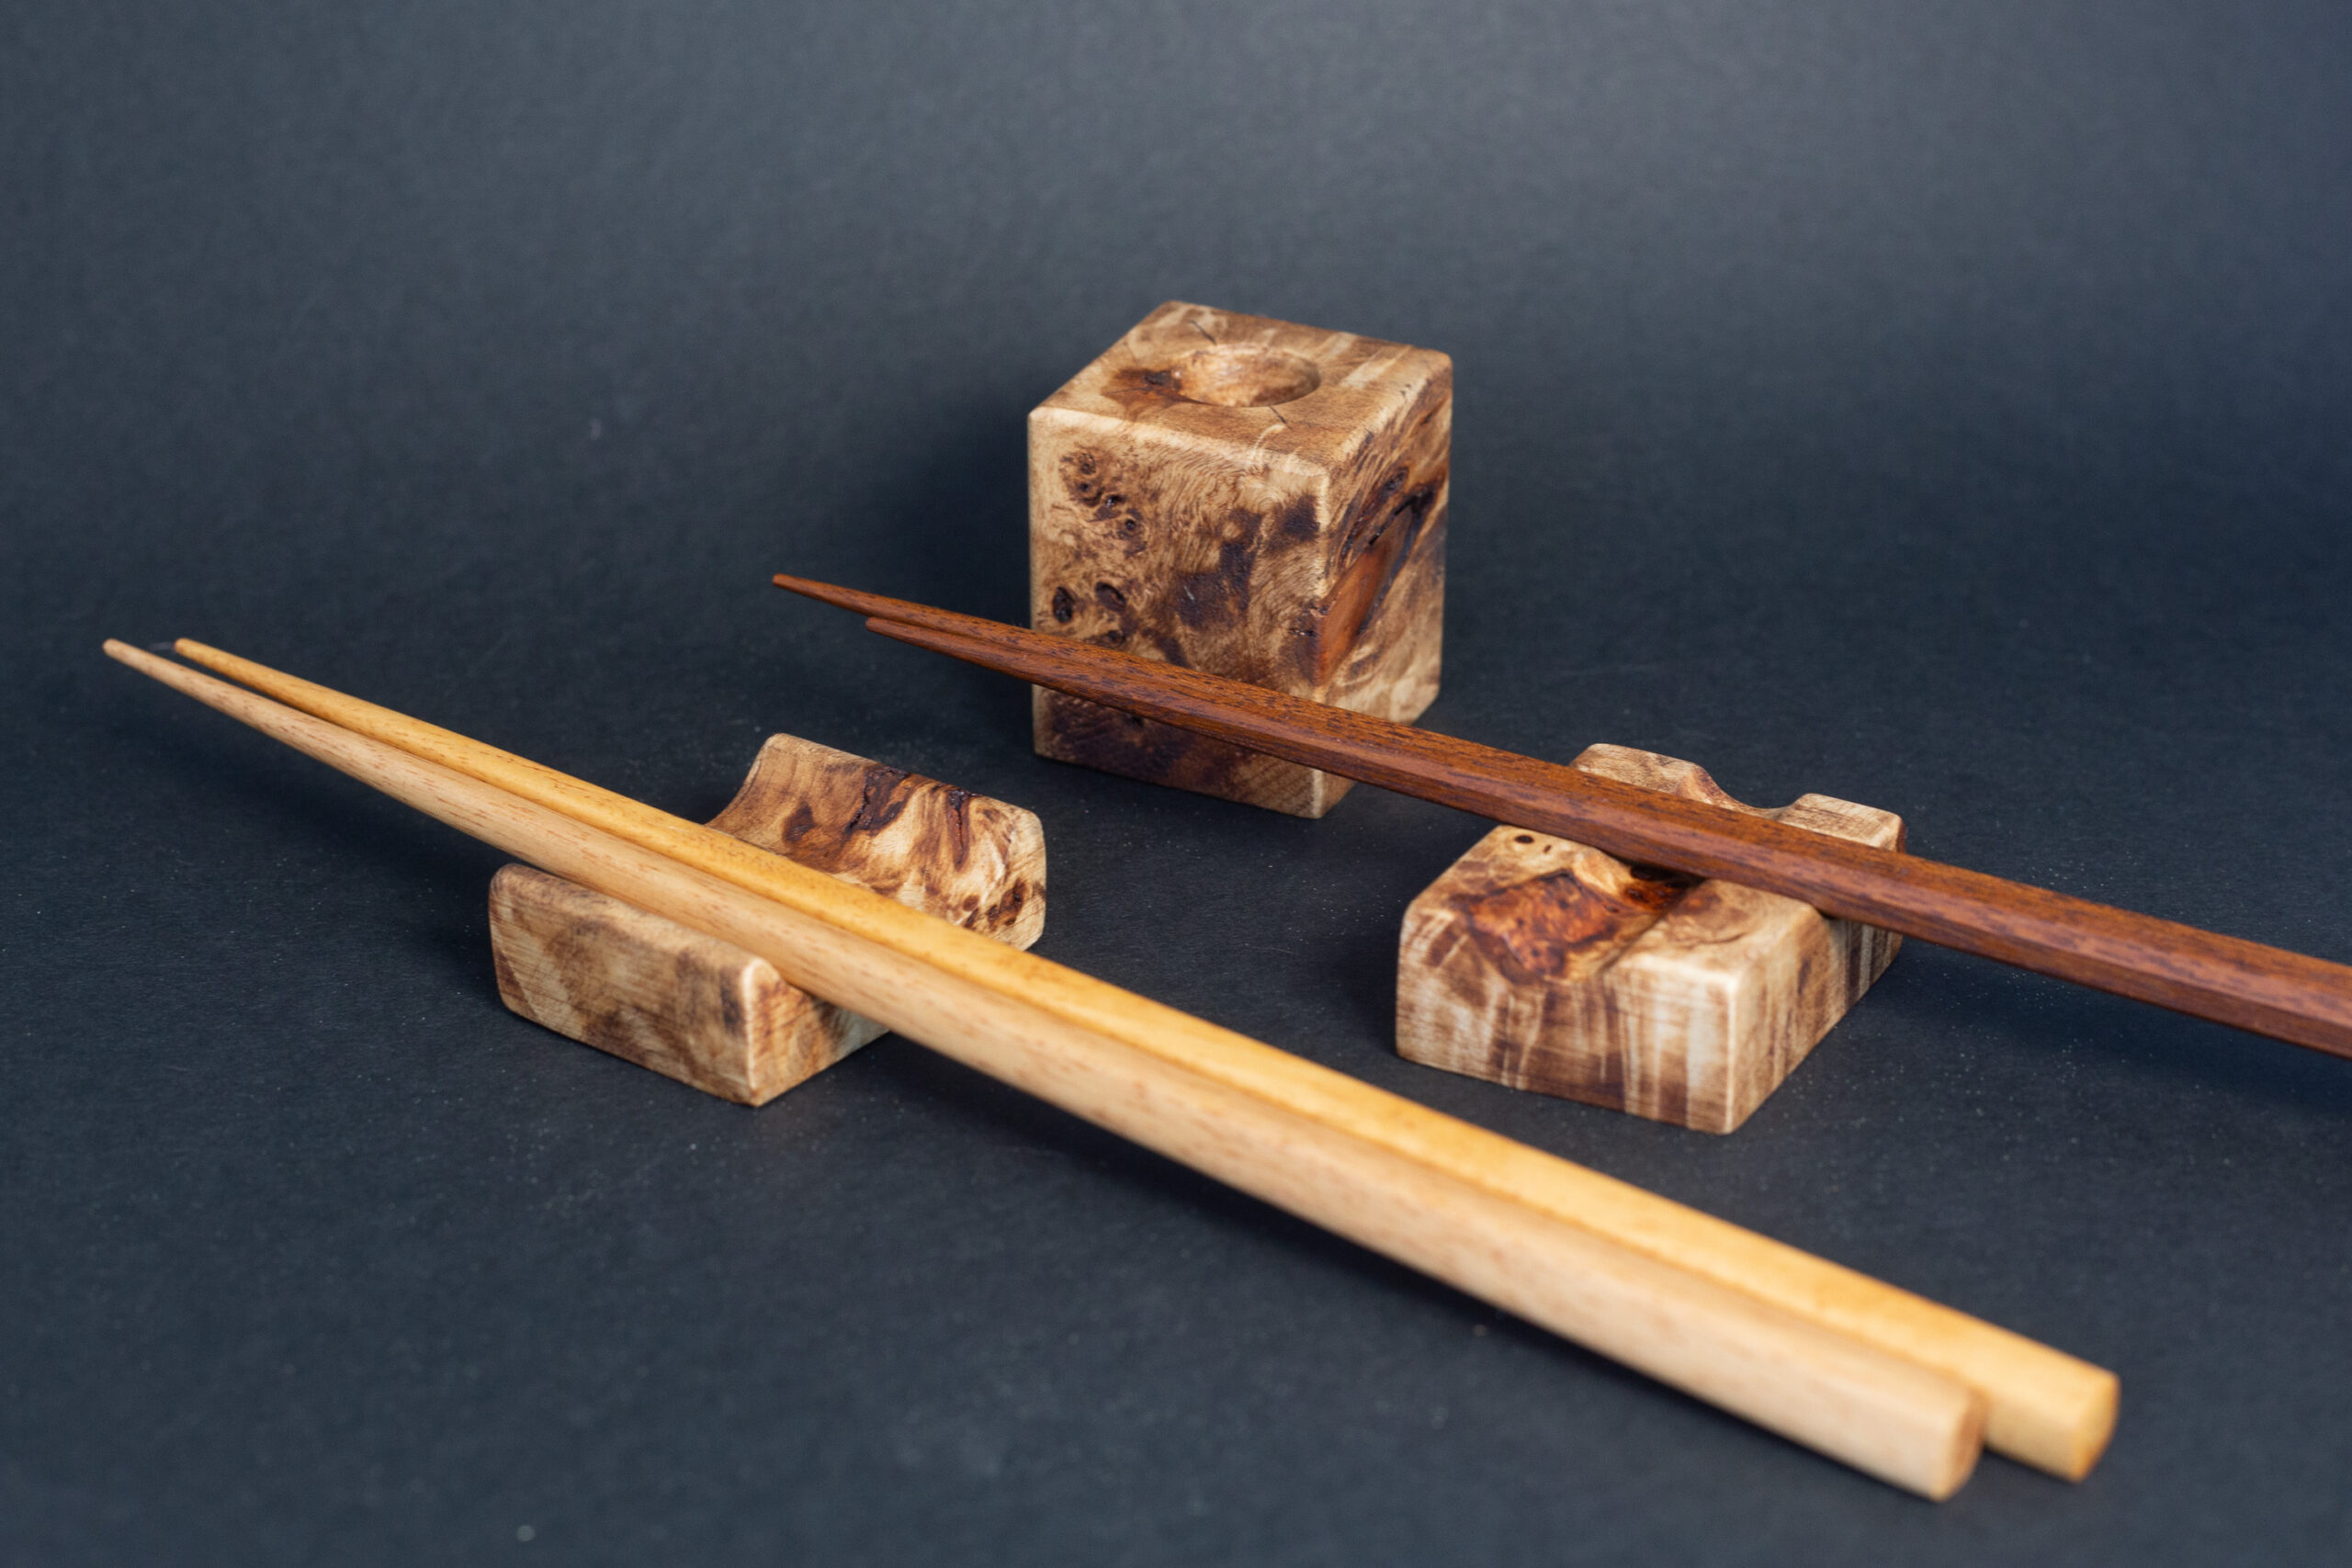
- Object to be lacquered (wooden)
- Raw urushi lacquer (even basic seshime or ki-urushi)
- Turpentine
- Some cotton wool
- A brush (optional)
- Low-lint or lint-free paper
- Sandpapers of several grits (typically #400, #600 #800 #1000, #1200, #2000, and optionally #3000)
- Polishing paste or compound (automotive kind, from Mequiar’s, Menzerna, Farecla are really good for this)
- Palette knife or spatula
- Oil (rapeseed/canola is OK)
Optional list can be much longer, starting with better, higher quality urushi (kijomi), another urushi for mixing with tonoko (shitaji), urushi for finishing process (uwazuri-urushi urushi or isehaya). Other items:
- Tonoko – fine clay powder
- Special paper for rubbing
- Polishing powders of different grit, with Migakiko powder for final steps
- Kijiro urushi or other transparent urushi for mixing pigments
- Pigments or ready-made pigmented urushi
The Furo
Key step in all processes involving urushi is curing. Lacquer cures (not “dries”) and becomes hard in presense of oxygen and high humidity, at proper temperature. Typical values for fuki-urushi are 70-75% relative humidity and 20° Centigrade. Proper environment must be kept for 24 hours (or more) and usually a cabinet called furo (or urushi-buro) is used. For bigger object whole rooms are adapted as curing space and called urushi-muro.
The easies DIY version of furo is just cardboard box which can be closed, with humidity provided a bowl of water and some wet rags. But if you want a step up – use plastic box, with lid, but not 100% sealed (to let the oxygen in), and line it with some wood. Still a water container and wet rags can be used, or upgrade to water gel (same as used in cigar humidors) or saline solution packets (also used in humidors). If you want even better – you can invest in automatic humidifier. Again – same as used in cigar humidors.
It is good to know the humidity inside, so even the basic hygrometer is a must.
WARNING – typical cheap hygrometers are not precise. Like VERY unprecise. Expect ± 10% from cheap 10$ hygrometer, ±7% from fancy Bluetooth smart home units (don’t believe other claims – I tested a lot of them). Proper hygrometers with ±2-3% start at 100$ and it is impossible to find them cheaper. But for our purposes ±5% is OK.
Preparation of wood
Almost any kind of wood can be treat with fuki-urushi, but a lot of factors will influence how it will look and how durable it will be. Some woods contain a lot of oils and that might prevent urushi from curing. If wood is to wet (not dried enough) it will speed up curing process and make the initial layers much darker.
General rule is – the smoother the wood surface is the less darkening with urushi you can expect. For some woods it means going up to 400 grit, for other up to 1200. Do not “cut corners” – all your mistakes, omissions, scratches with be much more visible after first layers of urushi. Do not skip grits when sanding, and always clean surface after every grit. With 2 final grits dust off the surface AND wipe it with wet microfibre. Same after last sandpaper. Let the piece dry and and you are good to work with urushi.
First lacquer
Purpose of first layer is to impregnate the surface, so it needs to soak into the wood. Raw wood will suck diluted urushi like a sponge, but the better it is prepared, the less it will happen. Dilute urushi with turpentine in 1:1 ratio, and apply it with a cotton wool (or silk) wrapped in paper (form a tampon). For more complex shapes you can use brush. Try to apply urushi evenly and work fast or in divide a piece into parts and work on just one. Once you cover the surface with urushi, let it sit for a while and rub it off with paper. Depending on your goal you can repeat the application again, or just transfer the piece into furo, for 24 hours.
A good practice it to test how wood will react on scraps. Sand them the same way you are going to prepare actual piece, and rub urushi in. Cure and check the results. Change something if not satisfactory. Repeat 😉
Sanding
After urushi is cured you sand again. Actually work with urushi is much more sanding than lacquering. This time start wet sand paper is used, and you can start with 600 grit usually, then move to 800 and 1000 grit. Remember about cleaning the surface after each grit. Clean the piece, dry it and you are ready for second layer or other procedures.
Optional – Sabi-urushi
If surface of the object is not smooth, and/or it cannot be sanded to satisfactory smoothness you can fill in the pores with sabi urushi. Sabi is a mix of tonoko clay, water and urushi (seshime/ki). General proportions of tonoko:water:urushi are 5:1:5 but can be adjusted as necessary. First you mix tonoko with water to get thick paste and then gradually add urushi and mix until smooth. Apply sabi to whole surface of lacquered object with spatula, very thinly. Make sure you fill in all the pores and imperfections. Then cure for 48-72 hours. After sabi it makes sense to go down back to 400 grit sandpaper and work up to 800 grit, and repeat application of urushi diluted 1:1 with turpentine. Cure and then follow normal procedure (“Second urushi” part below)
Optional – pigmented (or dyed) urushi
Very interesting effect are possible with use of pigmented urushi as first or second layer. If used as first layer – it will penetrate the pores more. After sanding some colour will stay, and will highlight the wood grain. Another option is to use dyed urushi – not easy to find proper dyes (must be oil soluble) but possible. Such urushi can penetrate even better and allow to use a different colour dyed urushi for first layer, and a different colour of pigmented urushi for second layer. Experiment.
Second urushi
For second layer you still dilute urushi but much less (starting point is 20% of turpentine – adjust as necessary depending on viscosity of urushi used). Appy it the same way as first layer. You will notice the wood is not sucking in so much urushi (but still may, depending on type of wood and sanding), so prepare 20-30% less mixture than for first layer (sometimes even less). And wipe it off as with the first urushi.
Third and following layers
For third and subsequent layers do not dilute urushi. Sanding may not be necessary between those layers but it is good to examine the surface after curing each of them to make sure there are no imperfections, dust, or lint on the surface. Is you find something – use 1200 grit sandpaper to correct this.
Apply 5 or more such layers until the urushi film is even and smooth. Then follow with final polishing.
Final polishing
Start with 1200 (or slightly higher) grit sandpaper, wet. Be careful, work slow and check the surface a lot. Move to higher grits (up to 3000) and then polishing paste or dozuri powders mixed with rapeseed oil. Remember to clean the surface after every girt or paste. If you have no dozuri powders you can use automotive grade polishing liquids (without silicone). Once you achieve gloss that satisfys you – it’s done. Or…
Clean the piece, dry, apply highest quality urushi for uwazuri (isehaya for example), rub it off with paper, cure, and polish with migakiko powder using just your hand and tiny amount of oil (for a fountain pen barrel amount of oil that you can take from your forehead is plenty enough).
Enjoy you work 😉
Support my work, and help me build this website and Youtube channel.